Installing HID in 2011 Hyundai Sonata Hybrid
The upgrade kit was obtained from Xenon Supply, which no longer exists, but their Youtube video is still available.
The video provided is for the non-hybrid Sonata model, which is considerably different than the Hybrid.
Watch the video for the general concepts, then refer to these notes for differences.
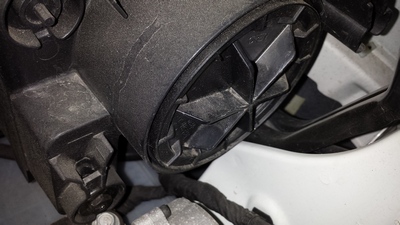
Firstly, the dust covers on the back of the existing headlights are different than the video.
I was surprised how much torque was required to unscrew these -
if you don't have strong hands and fingers, you might need a tool.
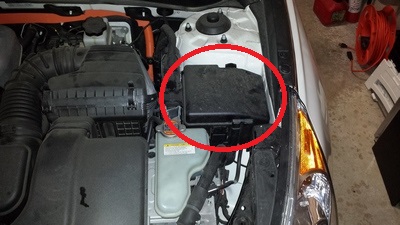
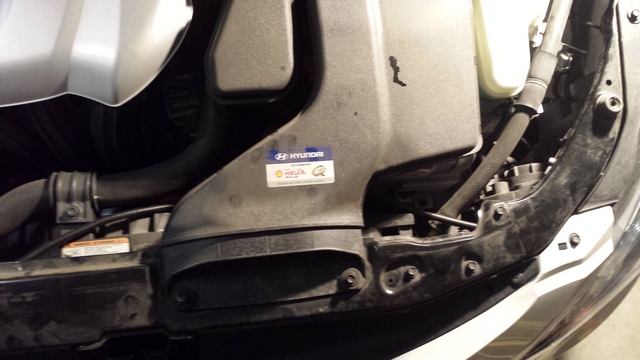
Second, the battery is in the trunk - you have to get the power from this fusebox on the driver side.
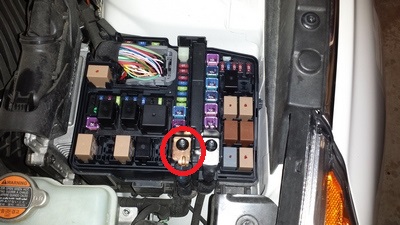
When completing the installation, connect the HID power lead to this terminal in the fusebox.
I didn't know whether to make this connection live, or attempt to disconnect power to the vehicle.
The HSH has two batteries - I'm not sure how they interact, or what systems might
act up after a power loss. I ended up making this connection "live" - very carefully - and didn't
have any problem.
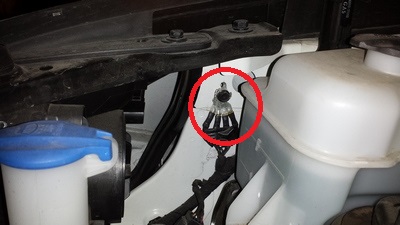
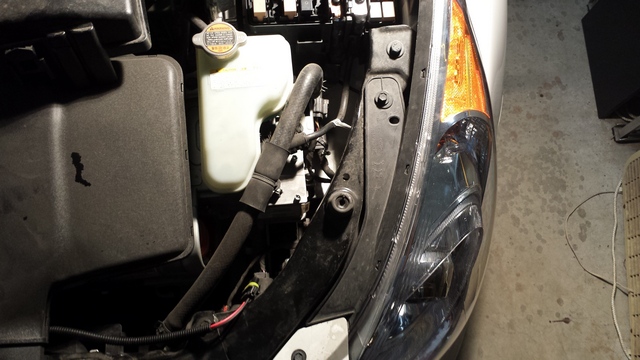
Where
do you connect the ground wire for the HIDs?
This grounding lug on the passenger
side (by the coolant overflow tank) was a good option.
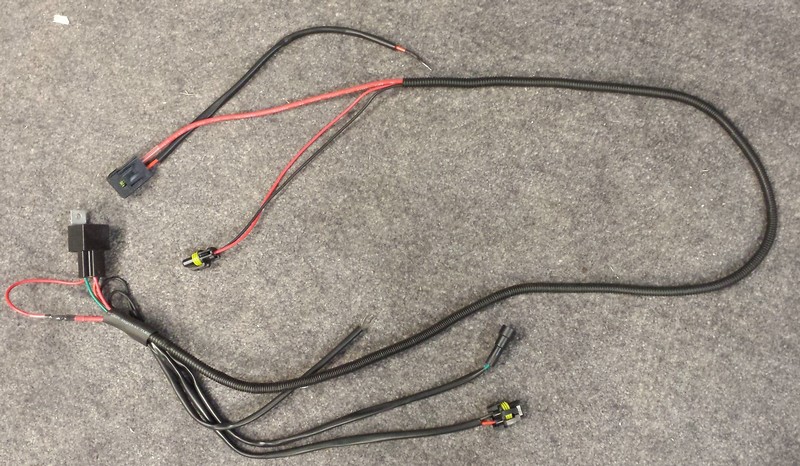
The
wiring harness as supplied won't reach both power and ground on
opposite sides. So the power conductor can be extended and threaded
through the tubing to the driver side.
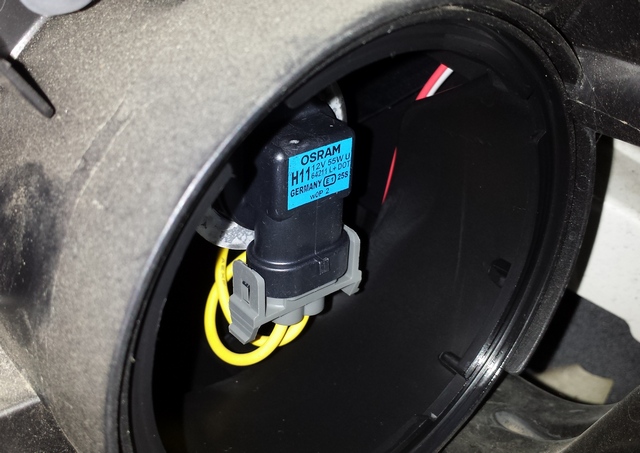
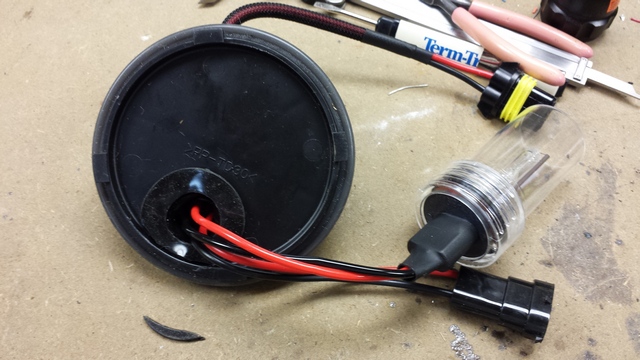
Here's what the existing H11 halogen lamps look like before replacement.
Rotate the 1/4 turn counterclockwise and slide out the old lamp.
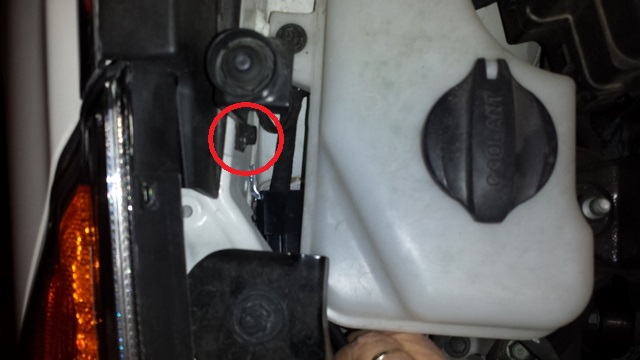
This bolt on the passenger side by the coolant overflow tank provides a good spot to mount the relay.
You'll have to enlarge the hole in the tab of the relay.
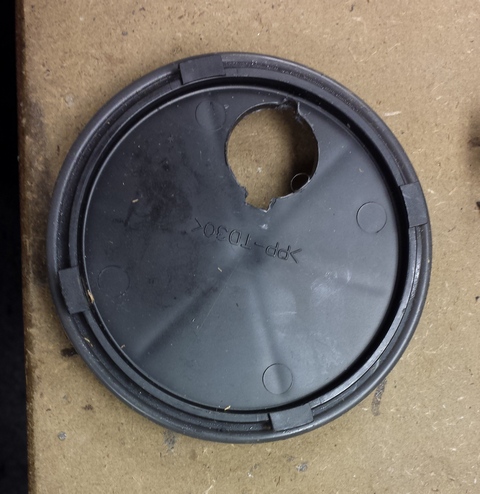
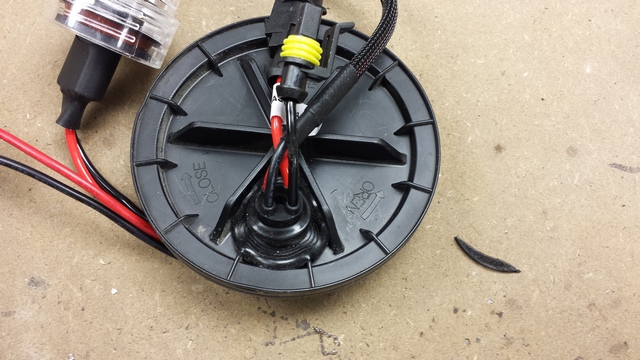
Here's
how you have to prepare the dust covers. A 0.9" hole, and then
extend it into a slot of length 1.1" to accomodate the connector.
Why couldn't XS find a connector that fit through a round hole????
Grommet trimmed on inside so it clears the raised rim.
Grommet inserted for passenger side headlight.
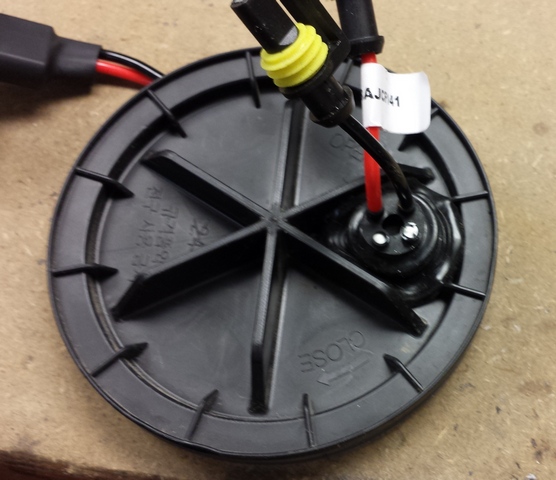
Grommet inserted for driver side headlight. You can cut off and pull out the extra wires for the
halogen connector since the power sensing is done only on the passenger side.
Why leave the unused wires and connectors just hanging there?
Fill the holes with caulking compound to keep it water and dust sealed.
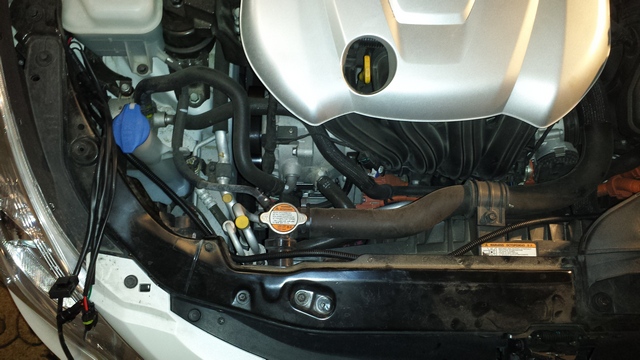
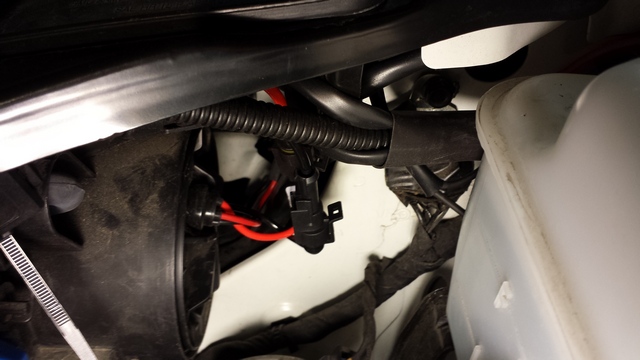
Routing the driver side wire (in the corrugated tube) across, tucking in under the black metal above the radiator...
Continue routing across under the air intake....
Until it ends up in reach of the drivers side headlight assembly, and the fuse box.
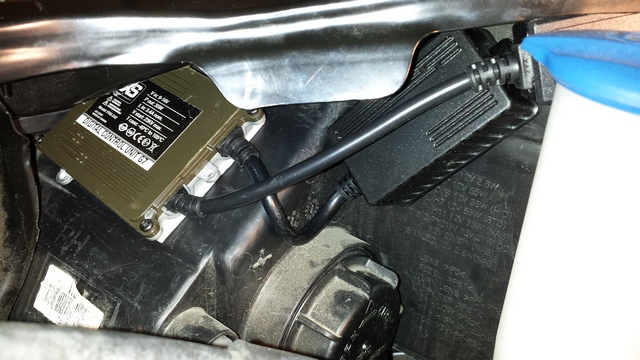
When installing the ballasts, note polarity.
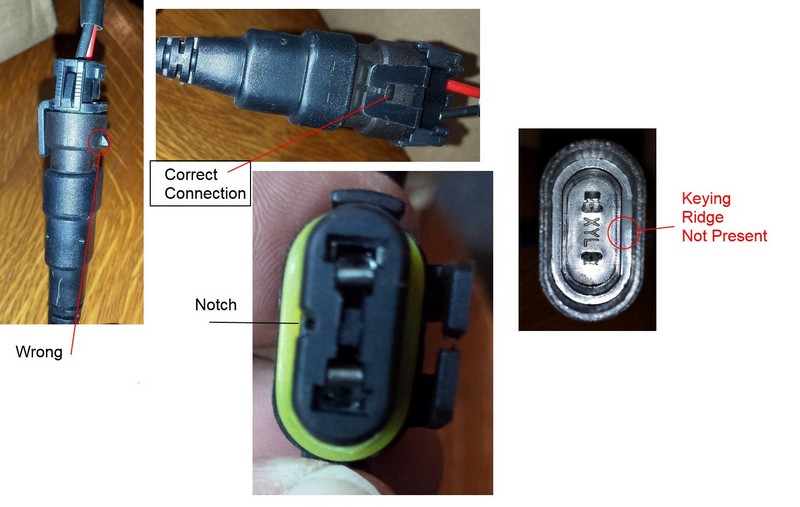
The
connectors on the ballast have been molded in a way that does not
ensure proper polarity. If you are not paying attention, it is quite
possible to plug them in backwards, which may damage the ballasts. The
connector on the ballast should have had a keying ridge that engages
with the slot in the plug only if the plug is inserted the right way.
It is not present. It would be easy for someone to plug it in it
backwards.
The connector from the passenger side HID power
that connects to the wiring harness connector with black and green
wires is not polarity sensitive. It drives the relay which is not
polarized.
It uses the same type of connector which has a locking
catch when correctly inserted, but doesn't prevent you from inserting
it backwards.
Installed view on passenger side. Extra wires and connectors can be stuffed into gap behind headlight assembly.
Relay is on right behind white coolant tank.
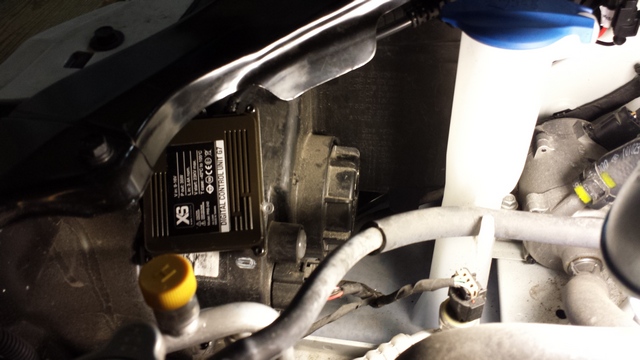
There was no place to put the ballasts on the car's metal chassis that wouldn't block something else. I cleaned the
plastic headlight housings and stuck the ballasts there. I wondered if the ballasts would get hot enough to hurt
the housing plastic, but realized that the 3M sticky pad is just foam, and is not a good thermal conductor.
Use wire-ties to hold the in-wire boxes in place.
Results
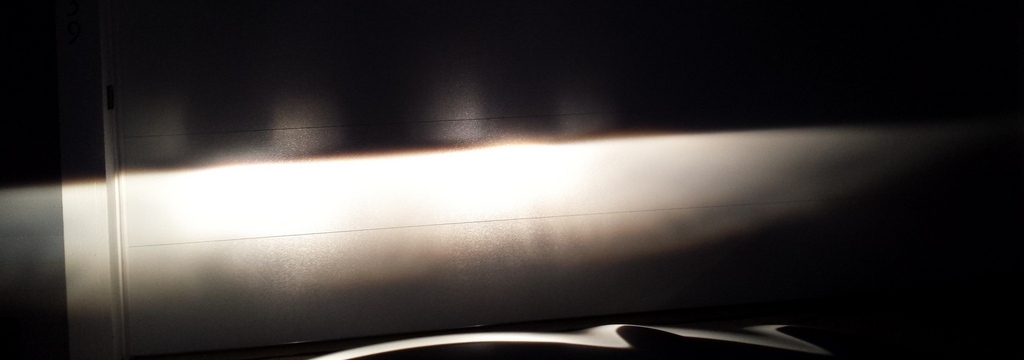
Before
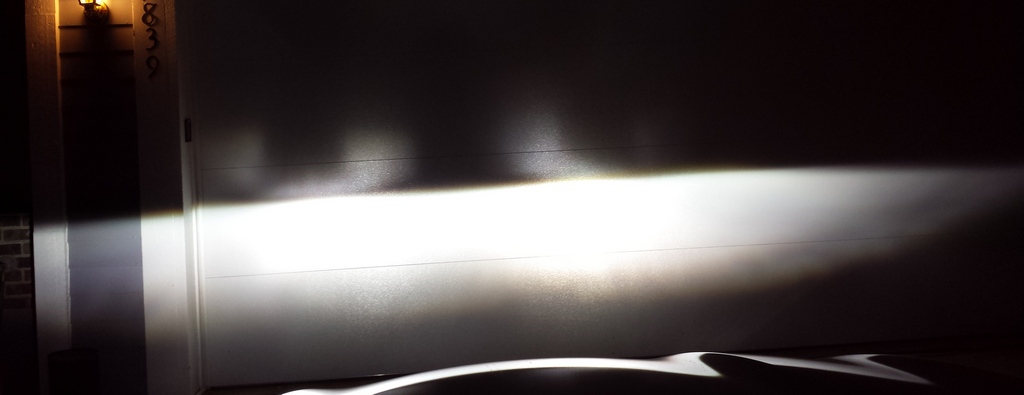
After